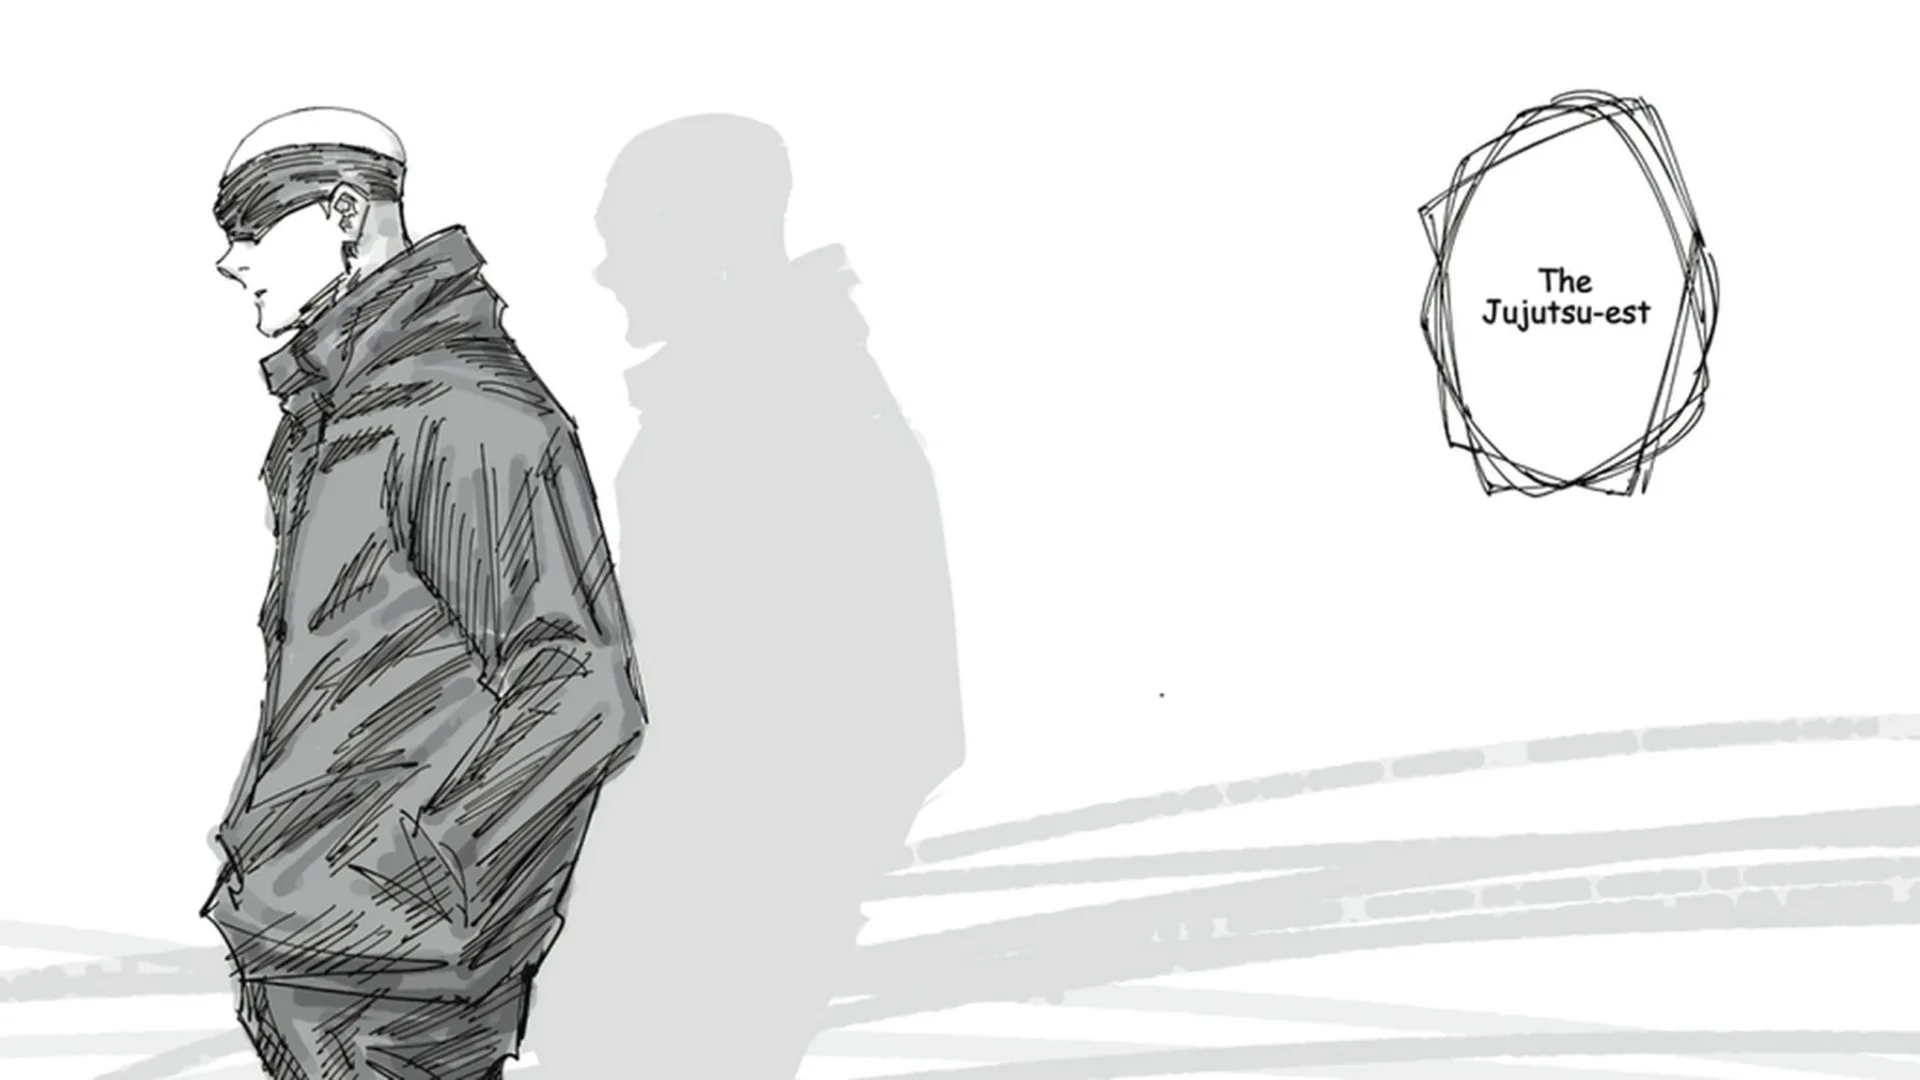
- Jujutsu Shenanigans Gojo combo routes use The Strongest, also known as the Honored One style.
- Begin with M1 confirms before spending Lapse Blue or Reversal Red.
- Use spacing tools to control neutral and create safer combo openings.
- Save Awakening for a confirmed opening, recovery animation, or controlled punish.
- Practice route timing because cooldowns, distance, and wall position affect every extension.
Jujutsu Shenanigans Gojo Combo Basics
The most reliable Jujutsu Shenanigans Gojo combo approach uses the The Strongest style, commonly associated with Gojo-inspired techniques. The style rewards players who control distance, confirm attacks carefully, and avoid throwing signature abilities without a clear hit.
For consistent results, treat every combo as three stages:
- Starter: An M1 string, safe approach, or successful ranged hit.
- Extension: Lapse Blue or a follow-up M1 sequence that keeps pressure active.
- Finisher: Reversal Red, Hollow Purple, or another confirmed ender.
Neutral Control
Use spacing and ranged pressure to make opponents approach on predictable timings. Avoid rushing into close range without a confirmed advantage.
M1 Conversion
Start with a grounded M1 string whenever possible. Confirm the hit before committing to Lapse Blue or a higher-cost technique.
Awakening Threat
Keep Awakening available as a threat that changes the opponent's defensive choices. Activate after creating space or confirming an opening.
| Combo Element | Primary Function | Reliable Habit |
|---|---|---|
| M1 string | Close-range starter | Confirm several hits before using a skill |
| Lapse Blue | Pull, pressure, or extension | Use when the target is within a stable follow-up range |
| Reversal Red | Knockback and finishing pressure | Confirm the previous hit before casting |
| Hollow Purple | High-commitment finisher | Reserve for clear openings and predictable recovery |
Do not treat every technique as an automatic combo link. The strongest route changes with distance, opponent movement, cooldowns, and nearby walls.
Best Gojo Combo Routes for PvP
The safest starting route is the Neutral Pressure Route: M1 string into Lapse Blue, a follow-up M1, and Reversal Red. It is easier to repeat than a high-commitment finisher and helps maintain control after a neutral win.
The advanced route uses M1 string → Lapse Blue → Reversal Red → Hollow Purple. This sequence should be attempted only when the opponent is confirmed in hitstun or has limited escape options. A glancing hit is not enough to justify the final technique.
| Route | Starter | Sequence | Difficulty | Best Use |
|---|---|---|---|---|
| Neutral Pressure | Safe approach or ranged hit | M1 string, Lapse Blue, M1 follow-up, Reversal Red | Beginner | Stable pressure and space control |
| Limitless Confirm | Confirmed M1 string | M1 string, Lapse Blue, Reversal Red, Hollow Purple | Advanced | High-reward punish opportunity |
| Spacing Reset | Opponent whiff or misses approach | Lapse Blue, reposition, M1 string | Medium | Re-establishing preferred range |
| Awakening Conversion | Confirmed opening | M1 string, Awakening, style-specific finisher | Advanced | Turning a clean opening into decisive pressure |
Neutral Pressure Route
- Approach behind movement rather than dashing directly into the opponent.
- Confirm the M1 string before selecting Lapse Blue.
- Use Lapse Blue when the opponent is positioned for a follow-up.
- Continue with M1 pressure if the target remains vulnerable.
- Finish with Reversal Red when the hit is confirmed.
Limitless Confirm Route
This route is strongest after a punish, blocked approach, or opponent recovery animation. Lapse Blue should create a reliable connection for Reversal Red. Only use Hollow Purple when the opponent cannot immediately move out of the setup.
Hollow Purple is a commitment, not a default finisher. Missing it can give the opponent enough time to punish your recovery or start their own combo.
Controls and Timing for Gojo Combos
The official control reference lists M1 attacks, four skill slots, Q for Dash, F for Block, and G for Awakening on PC. These inputs form the foundation of every Honored One route.
| Action | PC Input | Combo Purpose |
|---|---|---|
| Basic Attack | Left Mouse Button | Starts M1 pressure and confirms close-range hits |
| Skill Slots | 1, 2, 3, 4 | Activates style-specific techniques |
| Dash | Q | Approaches, retreats, or adjusts combo distance |
| Block | F | Stops predictable pressure and creates defensive turns |
| Awakening | G | Activates the powered state after meter is available |
| Jump | Space | Changes approach timing and supports aerial movement |
Create a Safe Opening
Use movement, blocking, and spacing to make the opponent miss. A whiffed attack or predictable approach is safer than forcing M1 pressure from neutral.
Confirm the M1 String
Begin the combo with basic attacks and watch the opponent's reaction. If the first hits do not connect cleanly, stop instead of spending Lapse Blue.
Choose the Extension
Use Lapse Blue for pressure or positioning. Keep the follow-up short when the opponent is near an escape route or when your cooldowns are limited.
Select the Finisher
Reversal Red is the safer standard ender. Hollow Purple requires stronger confirmation and should be saved for a punish or controlled setup.
Reset the Fight
After the route ends, dash away, block, or return to your preferred range. Do not continue attacking automatically when the opponent has recovered.
Timing Rules That Improve Consistency
- Do not buffer every input: Wait for the previous hit to confirm before committing to the next technique.
- Watch distance: Lapse Blue and Reversal Red become less reliable when the target is too far away.
- Respect cooldowns: A combo that spends every ability may leave you vulnerable immediately afterward.
- Use walls carefully: A wall can improve pressure, but it can also alter spacing and cause a finisher to miss.
- Block after pressure ends: Your opponent may expect another attack and punish predictable re-engagement.
The exact feel of a combo can change after balance updates. Re-test timing in a controlled server whenever The Strongest receives ability, hitbox, or cooldown changes.
Gojo Combo Practice Plan
A strong practice routine separates execution, decision-making, and defense. Repeating a route without learning when to start it can create habits that fail in real PvP.
Use one route at a time. Start with the Neutral Pressure Route, then practice the advanced Hollow Purple conversion after the basic sequence feels stable. Move only after you can recognize when the starter connects and when it is better to disengage.
Practice Goals:
- Confirm a grounded M1 string before using Lapse Blue
- Complete the Neutral Pressure Route from close and mid range
- Land Reversal Red without wasting it on a missed starter
- Practice one safe retreat after the combo ends
- Use Hollow Purple only after a confirmed opening
| Practice Phase | Focus | Success Check |
|---|---|---|
| Phase 1 | M1 fundamentals | You can stop safely when the starter misses |
| Phase 2 | Lapse Blue extension | The follow-up connects at your preferred range |
| Phase 3 | Reversal Red finish | You recognize when the target is confirmed |
| Phase 4 | Hollow Purple setup | You avoid forcing the finisher from neutral |
| Phase 5 | PvP application | You choose routes based on spacing and cooldowns |
Common Mistakes
- Starting with a skill at maximum distance: The technique may miss, leaving no reliable pressure tool.
- Using Lapse Blue without a confirm: The opponent can block, dash, or punish the attempt.
- Ignoring defensive resources: Spending every move in one exchange makes the next interaction dangerous.
- Chasing after a knockback: Re-engage only when your movement and cooldowns support another safe approach.
- Activating Awakening in panic: Create space or secure hitstun before using the power spike.
The official Jujutsu Shenanigans Roblox page is the best place to verify current controls and game availability. For announcements, style changes, and player discussions, check the official Discord invitation.
A shorter route that consistently confirms is more valuable than a flashy sequence that depends on perfect spacing every time.
Jujutsu Shenanigans Gojo Combo FAQ
Q: What is the easiest Jujutsu Shenanigans Gojo combo to learn?
Start with M1 string, Lapse Blue, M1 follow-up, and Reversal Red. It provides a practical pressure route without requiring the highest-risk finisher.
Q: Which style is used for Gojo combos?
The Strongest style is the Gojo-inspired option. Some references also call it the Honored One, so check the current in-game naming after updates.
Q: When should I use Hollow Purple in a combo?
Use Hollow Purple after a confirmed Lapse Blue and Reversal Red sequence, a punish, or a recovery animation. Avoid throwing it out randomly from neutral.
Q: How do I improve Gojo combo consistency?
Practice M1 confirmation first, then add one extension at a time. Focus on spacing, cooldown awareness, blocking after pressure, and recognizing when to disengage.
Build your game plan around confirmation and spacing. The strongest Gojo combo is the route you can recognize, execute, and safely reset in live PvP.